
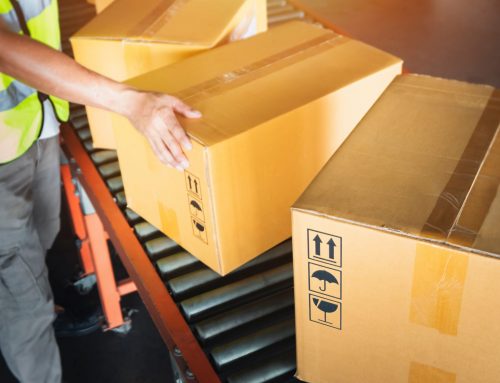
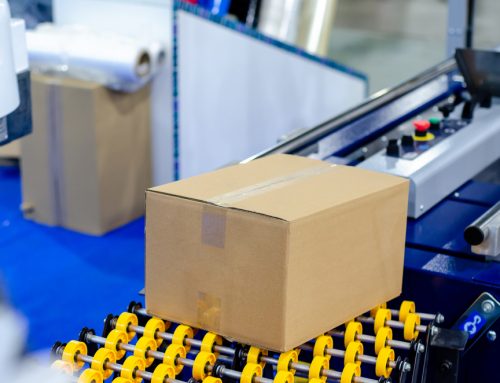
No matter what you’re packing, you want it to arrive intact and damage-free. This is why it’s important to use proper plastic banding tools and techniques to secure your packages. The world of shipping and packaging is vast with several moving parts functioning seamlessly together to transport items where they need to go, quickly and safely.
Using items like strap tensioners and sealers is quite simple once you understand the steps, which we’ve outlined below to help you streamline your packing technique.
Using Plastic Banding Tools
Step 1: Gather Your Plastic Banding Tools
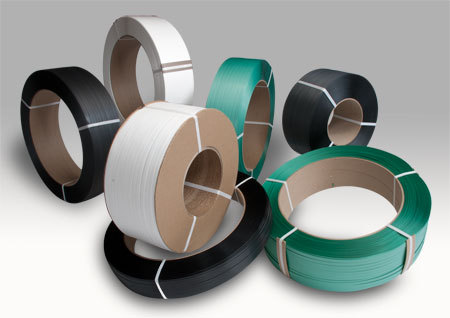
First, you’ll need to gather four packing components: a tensioner, a sealer, plastic banding or strapping, and metal seals. The tensioning tool has three key features: a clamp in the back to hold the plastic banding securely in place, a ratchet in the middle to guide the tool over the straps, and a cutter on the front of the tool to precisely snip the plastic banding once secured. The plastic banding straps will be what hold your package securely closed through transport and are held secure by the metal seals, clamped together with the sealer tool.
Step 2: Position Plastic Banding Strap and Feed Through the Tensioner Tool
Once you’ve gathered your tools, position the plastic banding strap around the package going away from your body, leaving plenty of room to work with between the band and the package. Take the tensioner tool and press the big handle down completely, this will cause the clamp in the back to rise. Once the clamp has risen, feed the plastic banding strap underneath the clamp, ratchet, and cutter, heading across the package away from you. Once threaded, give yourself another two to three inches of plastic banding strap extending from the front of the tensioner tool to work with later. Release the big handle of the tensioner tool, and the clamp will go down, securing the strap in place.
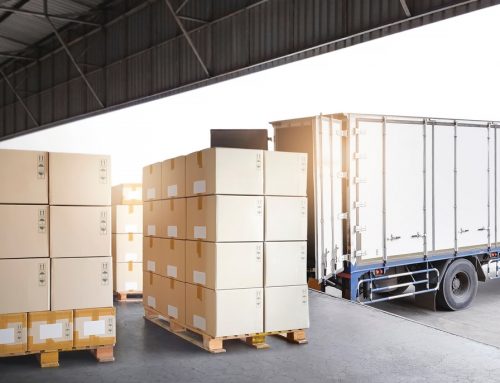
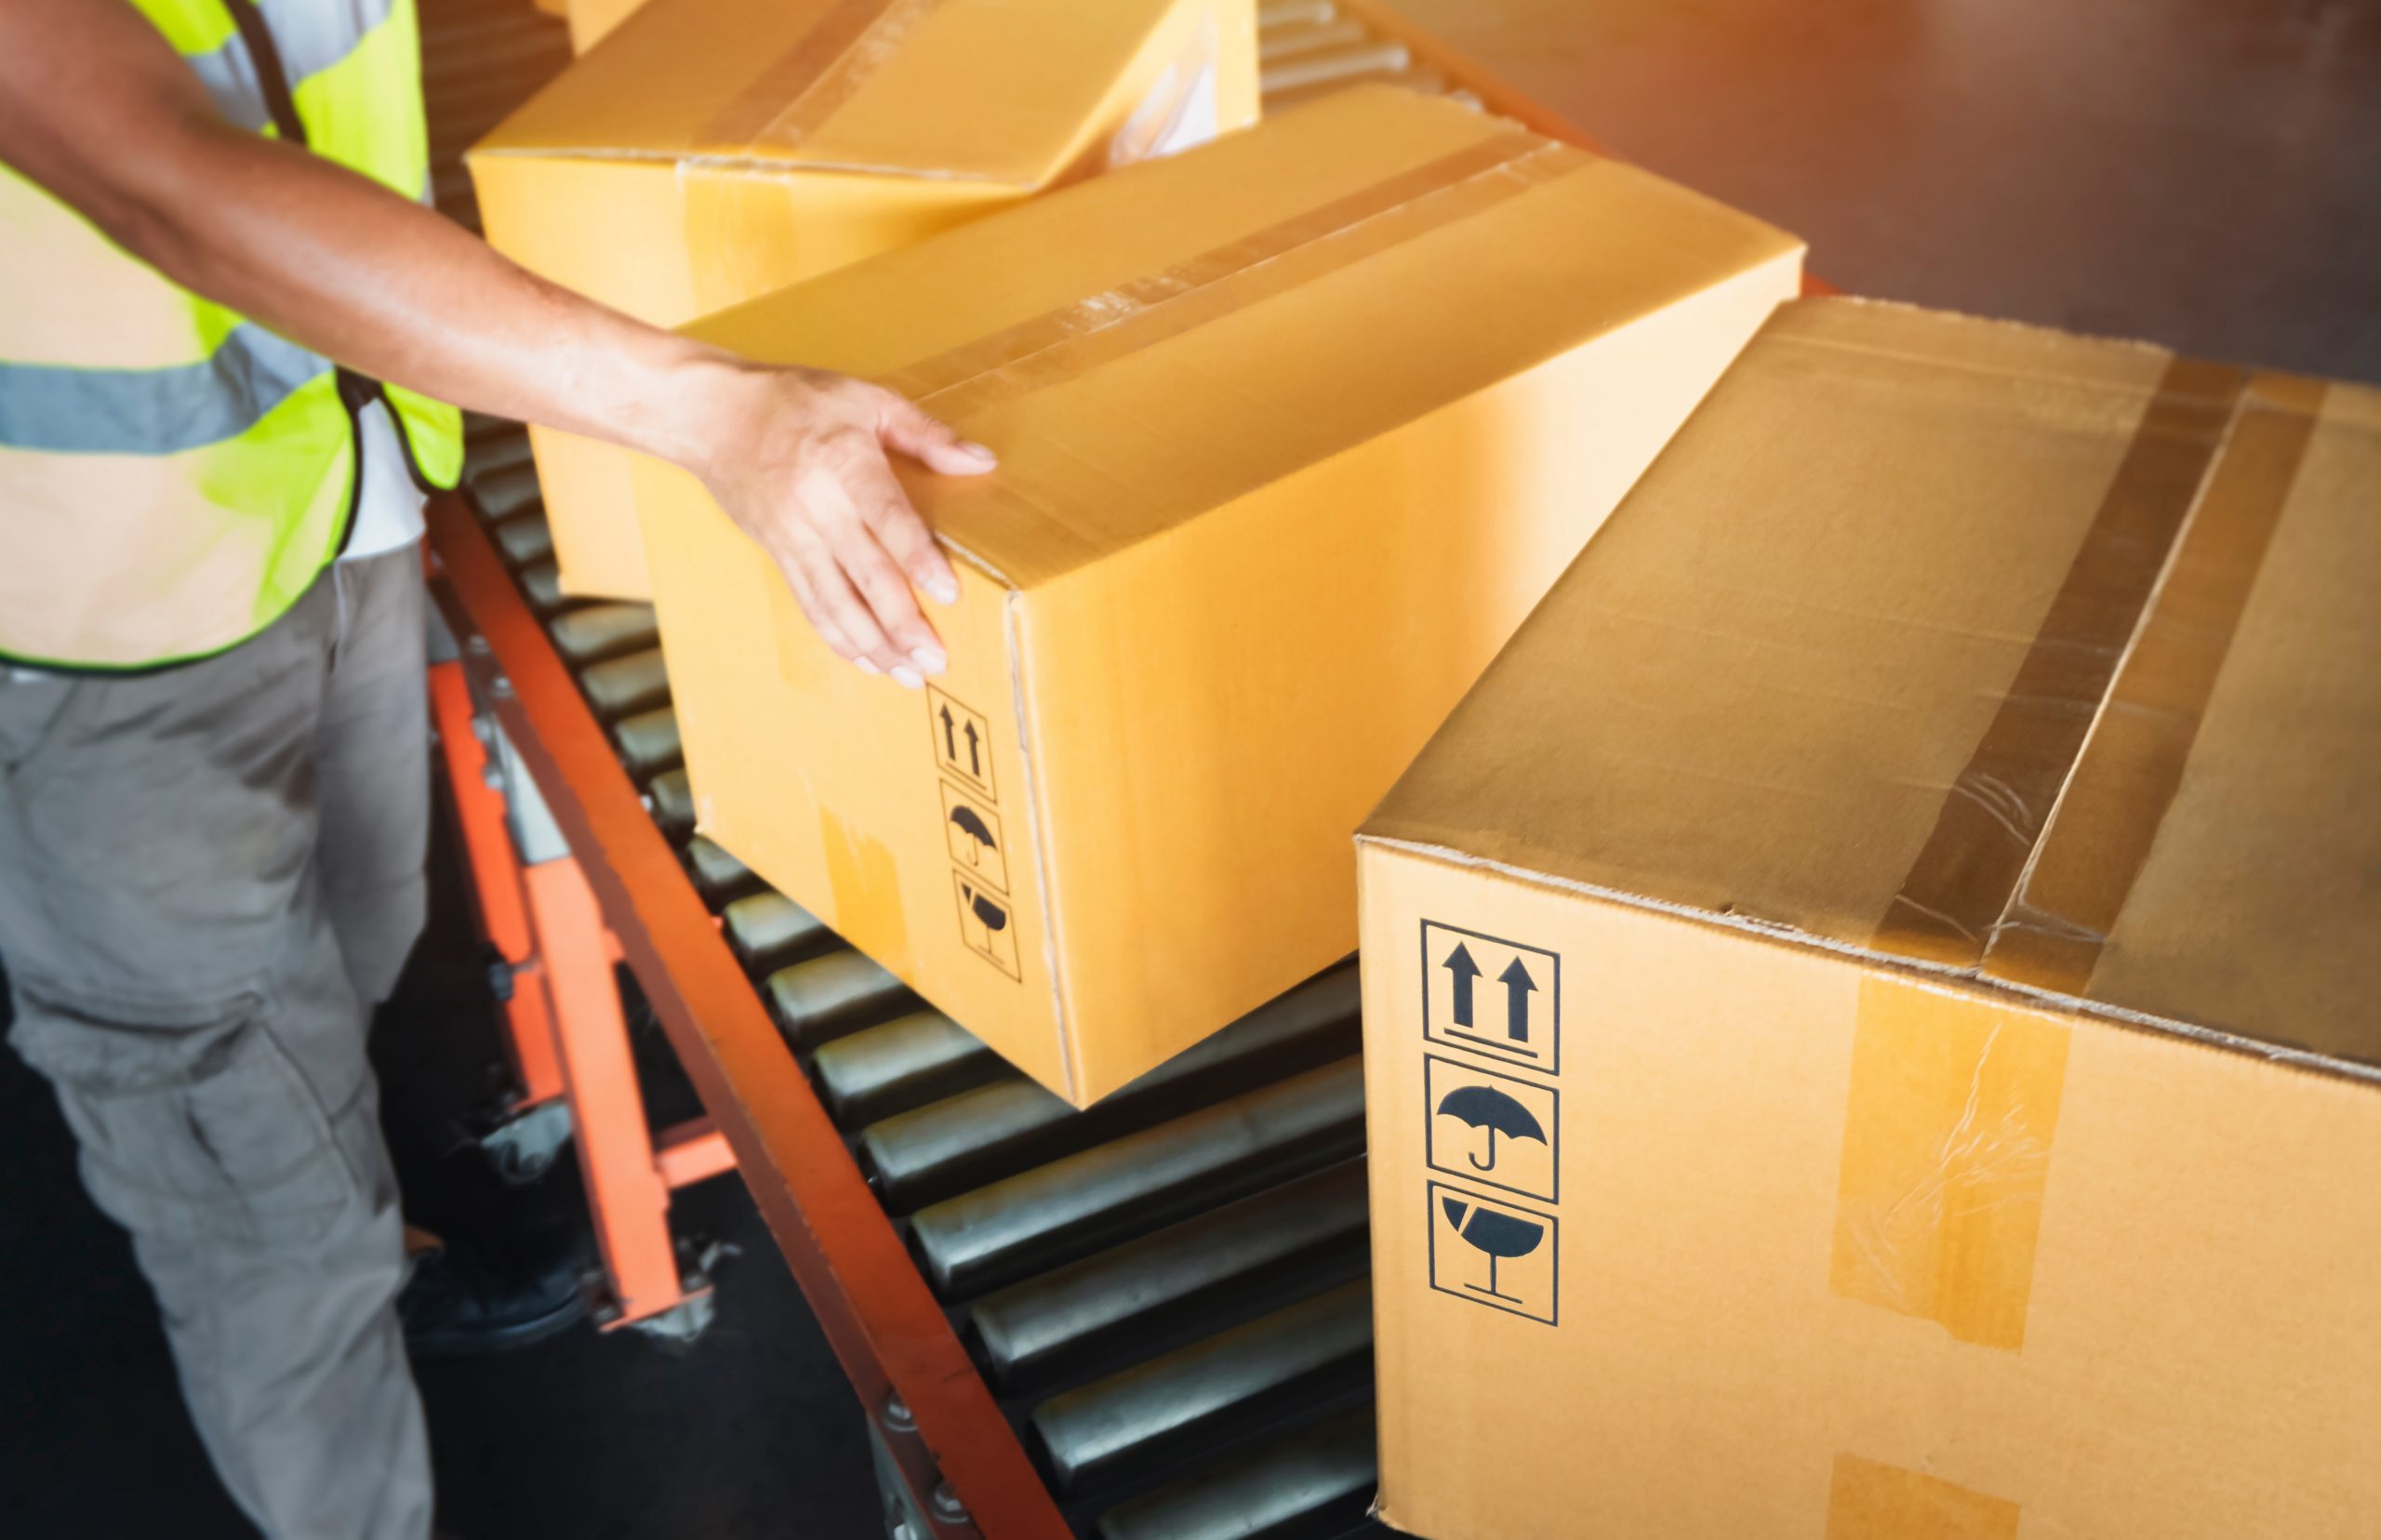
Plastic Banding Tools Protect Precious Cargo
Step 3: Tighten the Plastic Banding Strap
After the plastic banding strap is secured with the tensioner tool, grab the other end of the strap coming around the underside of the box towards you and feed it through the tensioner tool, starting at the front this time. Thread the strap through the cutter tool at the front, followed by the ratchet in the middle, and stop. Next, lift the handle of the tensioner tool up and down a few times to tighten and add tension to the two straps and bring them closer to the surface of the box.
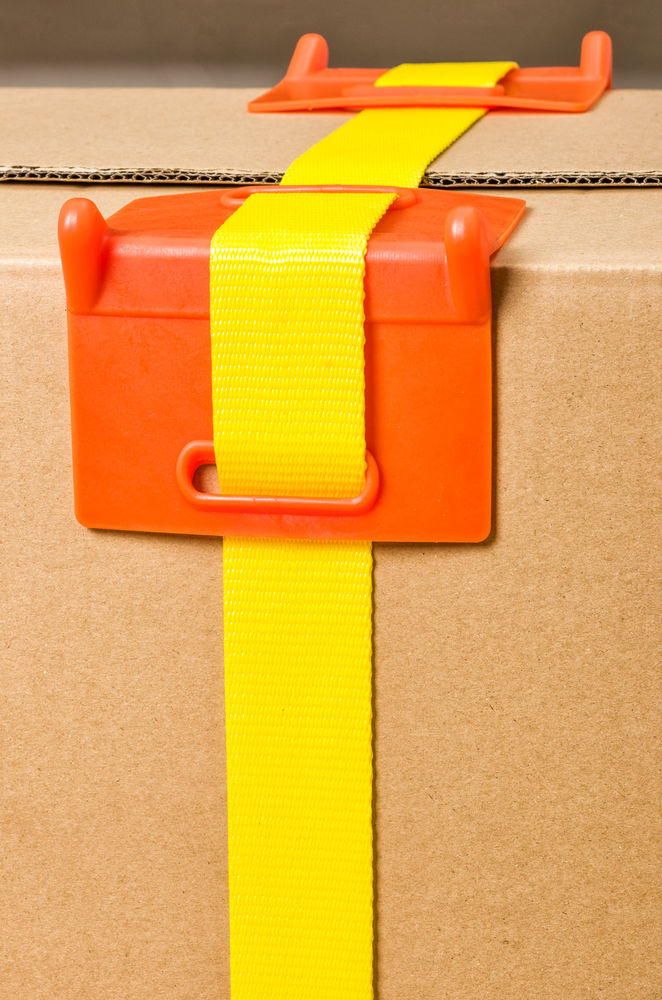
Step 4: Securing the Metal Seals Using the Sealer Tool
Next, with the tensioner tool still in place, take one of the metal seals and pop it over the two pieces of plastic banding strap that have overlapped coming out of the front of the tensioner tool. Once the metal seal is in place, grab your sealer tool and open the arms completely, placing the clamp directly over the metal seal. Bring the two arms together to close the opening of the metal seal and release to find the seal securely clamped strapping.
Step 5: Cut and Release
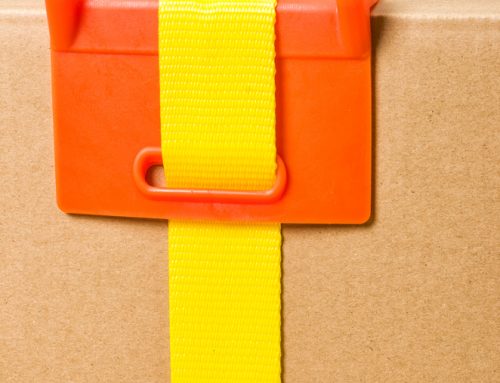
Returning to the tensioner tool still in place, crank the big handle back down completely to cut the excess strapping away from the now-sealed plastic band strapping. Now you’re left with the strapping sealed tightly against the surface of the box, ensuring the safe and secure delivery of your item.
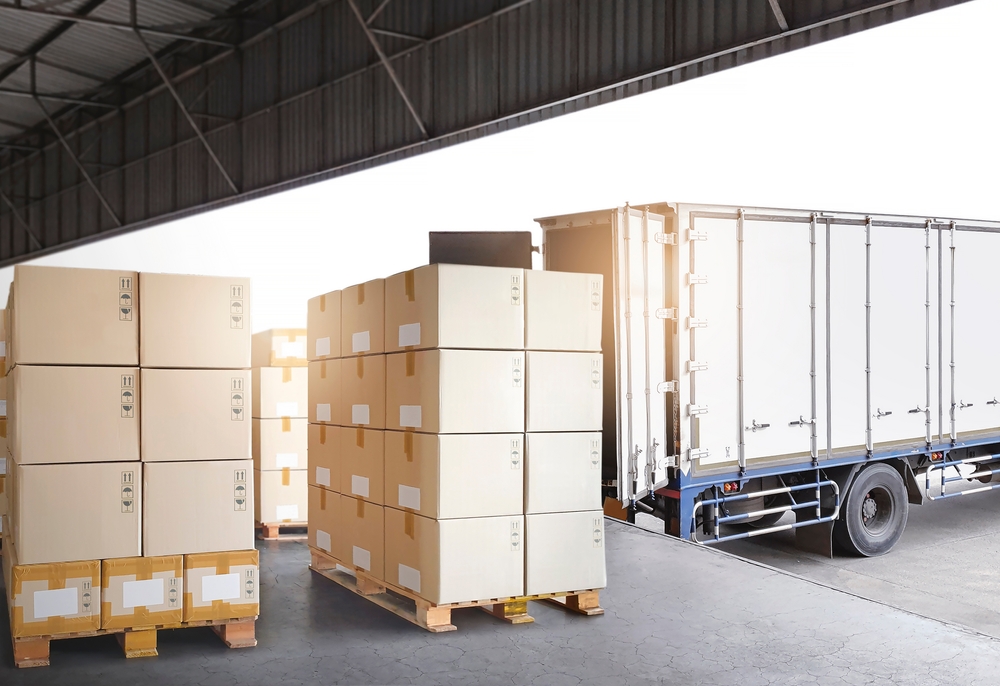
Capitalize Your Business with Plastic Banding Tools
Using plastic banding tools to securely pack away your goods before shipping is quite simple once you understand the steps and how to work them. Getting the most out of these tools simplifies the packing process and will improve efficiencies in your business operations. FastPak is the leading provider of tools like these and other packing materials, offering you a one-stop shop for your business’ packing and shipping needs.
Call us at 770-423-0795 or click today to learn how to optimize your business operations.
